How to Take a Screenshot on a Mac?
A quick approach to sharing whatever is on your screen is to take a screenshot of it. You may take a photo and email it to tech support if it's a mistake. You can record the event and share the picture with your friends and followers if it's a social media message.
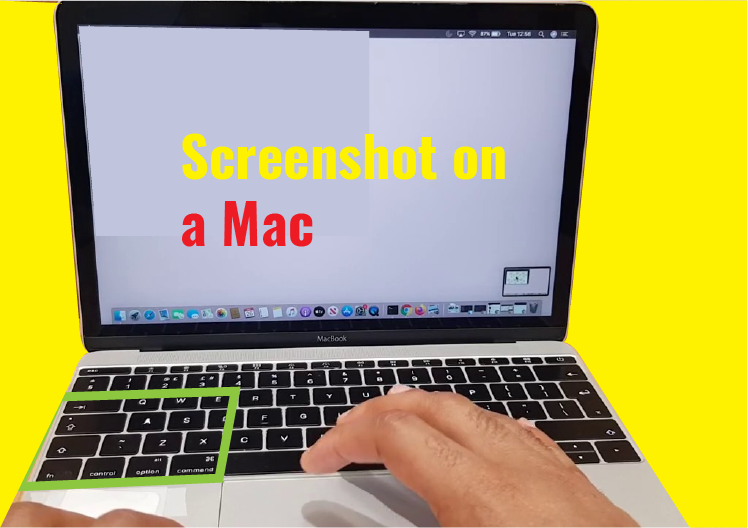
The screen capture software for Mac has always been simple to use but not very advanced. Almost anything could be captured if you know the proper keyboard shortcuts. Since the introduction of Mojave, macOS features a built-in screenshot tool that works similarly to the one in Windows and lets you take screenshots with a single button press.
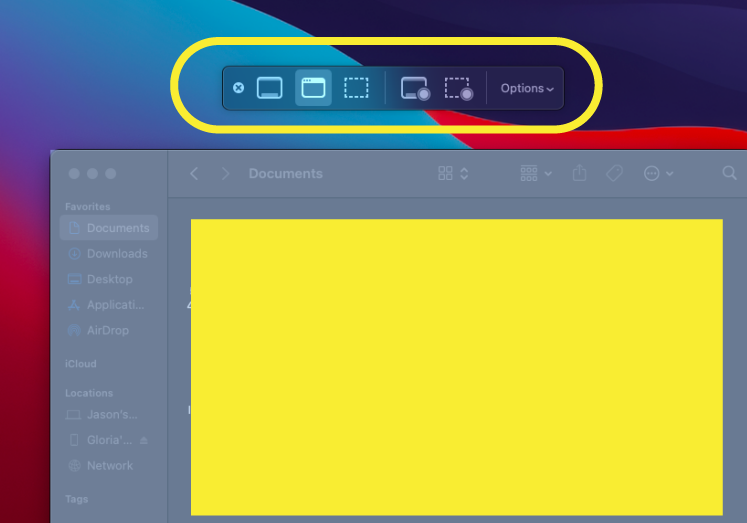
Go to Launchpad > Other > Screenshot to use the screenshot tool. Alternatively, press Shift + Command + 5 on the keyboard. The floating toolbar will provide choices to pick a window, the full screen, or a specific screen area. Additionally, you can record a particular selection or the whole screen. Here's how to take a screenshot of your computer.
Grab the Entire Screen
You may capture the entire screen by tapping the Capture Full-Screen button in the snapshot toolbar and then pressing Capture. If not, use the keyboard shortcut Shift+Command+3 to quickly capture a screenshot.
Capture a Custom Selection
Use the toolbar button labeled "Capture Selected Window" to select a specific area of your screen to be captured, or press Shift + Command + 4 to turn your cursor into a crosshair.
To select an area to be photographed, click and drag the crosshair over it. To grasp the chosen region, release your grip or hit the Esc key to cancel. Before taking a picture, you may adjust the selection area's size, location, and form by pressing and holding Shift, Option, or Space.
Capture a Window or Menu Bar
Press Shift + Command + 5 and choose the Capture Selected Window option in the toolbar to capture a snapshot of a particular window or menu. A camera symbol will appear in place of the pointer. To highlight a window, move the camera over it. Then, click to save the picture. Using the space bar, you may choose between grabbing a specific menu and a custom option.
Take an Image of the Touch Bar
Pressing Shift + Command + 6 will allow you to snap a screenshot of your Touch Bar-equipped Mac.
Record Video
You may record video by tapping Shift + Command + 5 and choosing Record Entire Screen or Record Selected Portion. To start the capture, once everything is ready, click Record. To stop recording and save the.MOV file, click the Stop icon in the macOS menu bar.
Change Where Your Mac Screenshots Are Saved
You may alter where screenshots are stored by default, which is usually your desktop. Shift + Command + 5 or Launchpad > Other > Screenshot may be used to launch the screenshot utility.
Choose a new default destination by clicking Options > Save to and choosing Desktop, Documents, Clipboard, Mail, Messages, or Preview. For more options, choose Another Location.
Adding the Control key to any shortcut command may send screenshots to the clipboard instead of saving them immediately to your computer. To take a screenshot of the full screen or a specific screen area, press Shift + Command + Control + 3 or Shift + Command + Control + 4. Then, paste the screenshot wherever you choose.
Change Image Format
.png files are the usual format for screenshots on Mac, but they may get rather huge, especially if you have a large Retina display panel. Change the format to.jpg with only a little bit of code. Type the following into the newly opened window by going to Launchpad > Other > Terminal:
com. apple. screen capture type jpeg as the default writing
If prompted, enter your password, then restart the machine. The preferred format that you chose should be used going forward for screenshots. If you want to alter it, just type the command above with PNG at the end.
Alternative Options
Snagit contains all the features you might want in a screen capture program from a third party, but it costs $50. TechSmith Capture, a free application created by the same business (Opens in a new window) (formerly Jing). Other free solutions include LightShot and Skitch (both open in new windows), and Snappy (both available in new windows) can sync screenshots with the Snappy iOS app (Which opens in a new window).


0 Comments